Southwestern Egg Rolls Recipe

Every time my family goes to Chili’s we order at least 3 plates of their Southwestern Egg Rolls! We tear those things up. I had to recreate them at home. And I think I got pretty dang close.

These egg rolls have never been very appealing to me. I’ve only recently tried them for the first time and fell in love! I was a black bean (or beans in general for that matter) fan until I took a bite of these egg rolls.

Chili’s uses flour tortillas instead of egg roll wrappers. The have the perfect texture. To mimic it, I fry the egg rolls until lightly browned. Then, I bake them. This gives them soft yet crisp bite.

And do NOT forget the Avocado Ranch dipping sauce! Easy to make and it just takes these eggrolls over the top!

Southwestern Egg Rolls

Ingredients

  • Ingredients
  • Egg Rolls:
  • 1 boneless skinless chicken cut into bite sized pieces
  • 1 T olive oil
  • 1/4 cup diced red bell peppers
  • 1 tsp salt
  • 1 tsp onion powder
  • 1/2 tsp garlic powder
  • 1 tsp minced jalapenos
  • 1 TBS finely chopped green onions
  • 1/2 tsp chopped fresh cilantro
  • 1/3 cup frozen corn
  • 1/4 cup canned black beans drained & rinsed
  • 1/4 cup frozen spinach thaw and squeeze the water out with paper towels
  • 1 tsp cumin
  • 1 1/2 tsp chili powder
  • 1/4 cup shredded Monterrey Jack cheese
  • 6-7 8 inch flour tortillas
  • oil for frying
  • Avocado Ranch:
  • 1/2 of an avocado
  • 1/4 cup Hellman’s Mayo
  • 1/4 cup sour cream
  • 1 1/2 TBS distilled vinegar
  • 2 TBS whole milk
  • 1/2 tsp salt
  • 1 tsp onion powder
  • 1/2 tsp garlic powder
  • 1/2 tsp dill weed
  • 1/2 tsp fresh chopped parsley

Instructions

  1. Instructions
  2. Egg Rolls:
  3. Heat olive oil in a skillet
  4. Add in the chicken and bell peppers
  5. Sprinkle in the salt and onion and garlic powders
  6. Cook until chicken is completely done
  7. Add in the jalapenos, green onions, cliantro, and corn.
  8. Stir and cook for 3 mins or until corn is no longer frozen
  9. Add in the black beans, spinach, cumin, and chili powder.
  10. Taste and add more salt as needed to taste
  11. Stir in the cheese
  12. When the cheese melts, turn off the heat.
  13. Wrap the tortillas in paper towels and microwave them for 1 min.
  14. Add 1 TBS of the filling into each of the tortillas and roll them tightly; secure it with a toothpick
  15. Place the rolls into a container or freezer bag and refrigerate overnight or freeze for an hour.
  16. Heat vegetable or canola oil in a deep fryer or pan to 375 F
  17. Fry the egg rolls for 4-5 mins or until they are lightly browned on all sides
  18. Drain on a paper towel and remove the toothpicks
  19. Place the rolls on a baking sheet and bake in a 350 F preheated oven for 8 mins.
  20. Serve with Avocado Ranch
  21. Avocado Ranch:
  22. Place all ingredients into a bowl or food processor.
  23. Mix well.
  24. Serve.
  25. Enjoy!

Recipe Notes

Recipe Notes
*Ranch is best if made a day in advance. Refrigerate any leftover sauce.

Happy Cooking,

B. Coop

Southern Fried Chicken Recipe

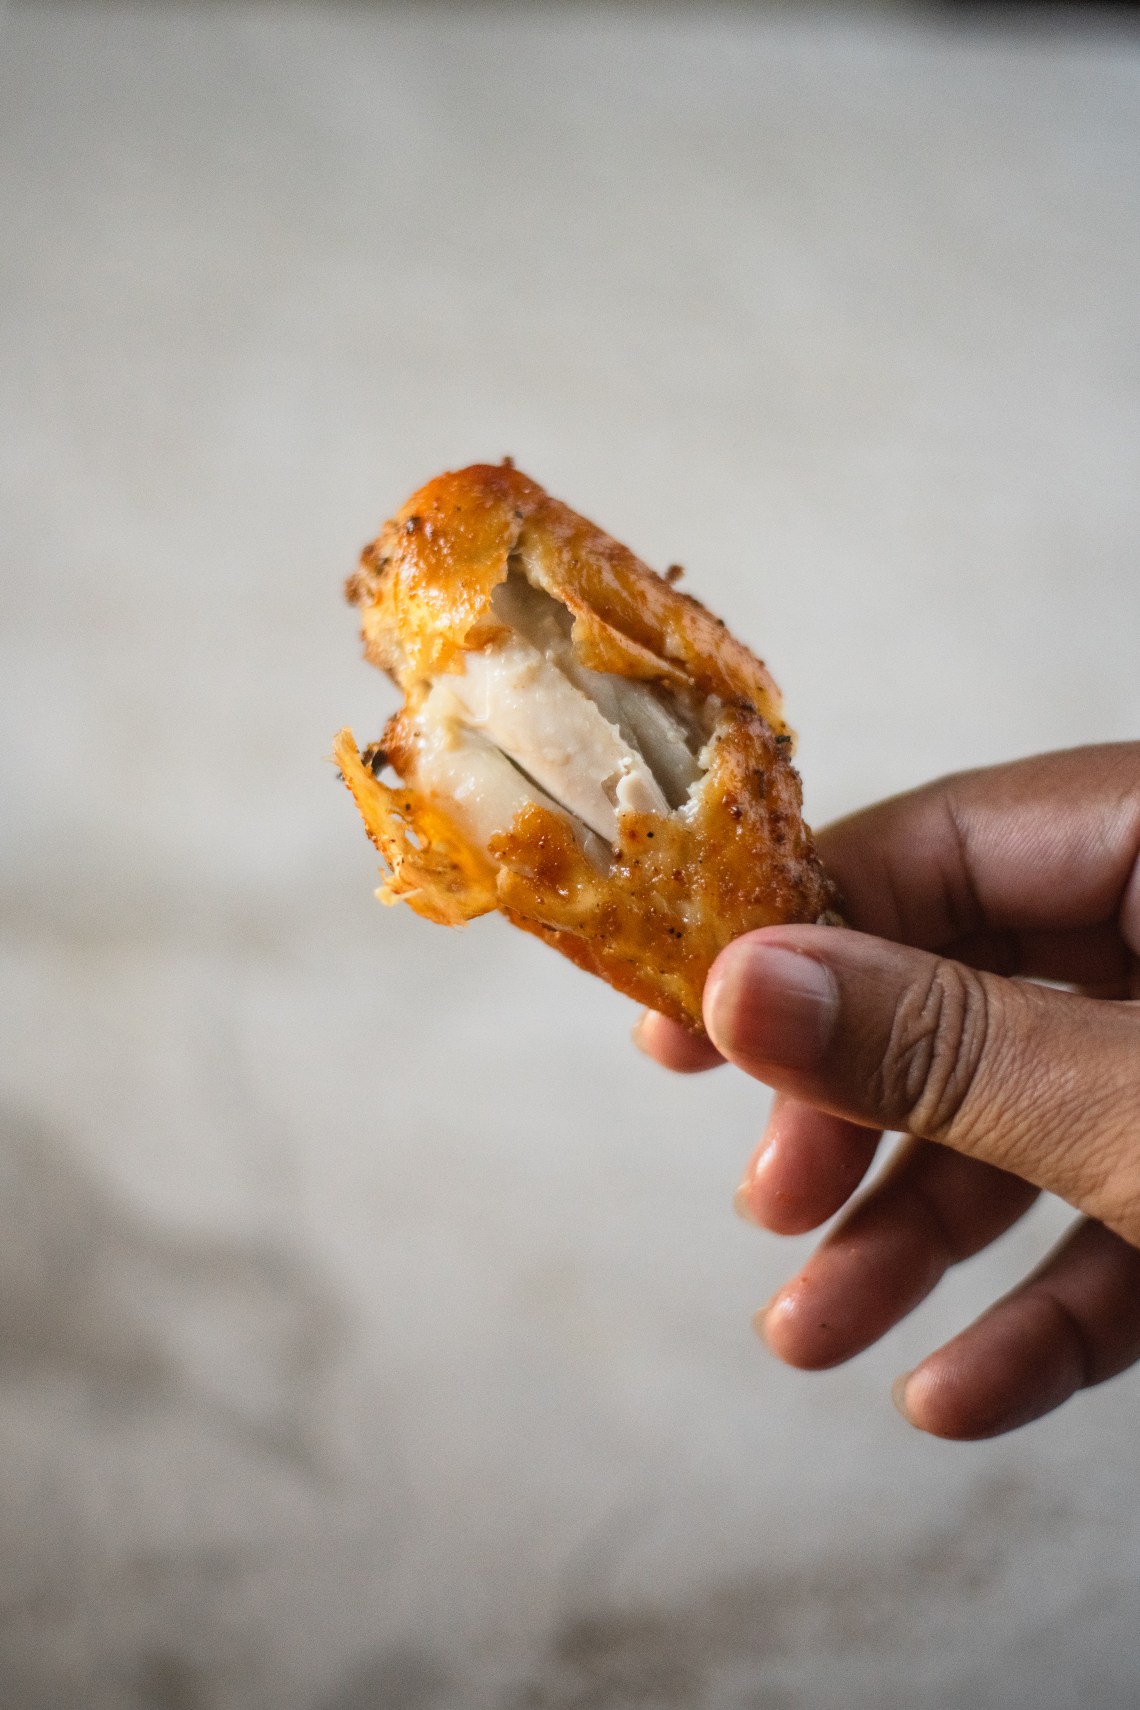
Finally, we have a fried chicken recipe on the blog! I don’t know what has taken me so long to do this. Fried Chicken is a staple. I don’t like to complicate it. It has to be crispy, juicy, and flavorful! Many fear frying chicken. I tried to make this recipe as easy as possible without skimming on the taste.

It’s allllll about the spices! I don’t use 11. But, my picks get the job done. Not too salty, not to spicy. I think I’ve found a happy medium of flavor blends.

Chicken loves to bathe in buttermilk! It’s the perfect brining liquid for fried chicken. It makes the chicken super juicy! It also helps to lock in the flavor of the spices. Don’t worry if you see some of the spices float. They’ll be plenty left on your chicken.

As for the flour, I like to use self-rising flour. Self-rising flour contains baking powder which makes the chicken crispier. I also add a little cornstarch to bump up the crisp even more! Be sure to coat the chicken very well. I use a batter bowl. But, a brown paper bag still works. Or just dredge the pieces in a shallow bowl. Be sure to shake off the excess.

I deep fry my chicken. Dark meat takes longer to fry than white meat. And pan frying takes a little longer than deep frying. You want it cooked all the way through. But, you don’t want to overcook it. The chicken has a way of telling you when it’s done. The pieces will float and rise to the top of the grease’s surface. The fry sound will be quieter when the chicken is ready to take out. You can drain it on paper towels or a wired rack.

Fried chicken is a crowd pleaser indeed. Cover it in hot sauce and grab some Bunny bread. Guaranteed to have your craving satisfied!

Happy Frying,

B. Coop

Southern Fried Chicken

Ingredients

  • 8-9 pieces of chicken
  • 1 quart buttermilk
  • 2 1/2 cups self-rising flour
  • 1 TBS cornstarch
  • canola oil for frying

Spice Blend:

  • 1 TBS Cajun or Creole Seasoning
  • 1 1/2 TBS poultry seasoning I use Chef Paul’s Poultry Magic
  • 1 TBS onion powder
  • 1 TBS garlic powder
  • 1 tsp lemon pepper
  • 1 tsp celery salt
  • 1 TBS Accent optional don’t tell me anything about MSG’s!

Instructions

  1. Remove excess fat from chicken and place into a bowl.
  2. Mix the spice blend together and sprinkle half of it on the chicken
  3. Rub the spices into the chicken evenly
  4. Pour the buttermilk over the chicken (it’s okay if the spices float in the milk. Chill out.)

  5. Cover the chicken and refrigerate for at least 4 hours. (Overnight is cool too.)
  6. Pour the flour, cornstarch, and remaining spice blend into a bag, batter bowl, or shallow baking dish.
  7. Remove the chicken from the buttermilk and shake off the excess. (Don’t rinse the chicken, Crazy!)
  8. Add the chicken pieces into whatever you’re using and shake or dredge it. Don’t make this difficult.
  9. Heat oil in a deep fryer or frying pan to 350 F
  10. Carefully place the chicken into the oil. Do not overcrowd the pan. Fry in batches.*
  11. Drain the chicken on paper towels or a wired rack
  12. Allow it to rest for 5-10 mins. before eating or just burn the roof of your mouth. It’s up to you.
  13. Enjoy!

Recipe Notes

*Dark meat takes about 13-15 mins to cook in a deep fryer. 20-25 in a frying pan. White meat takes a little less time. The frying sound with quiet when the chicken is ready. The chicken pieces will also start to float when it’s done. Make sure it’s 165 F internally and the juices run clear. I’m not responsible for you jacks eating raw chicken. Make sure it’s cooked!

Red Velvet Cake Recipe

You know what….no, I’m not gonna say that. Wait, no. Okay, look this is the BEST RED VELVET CAKE I’VE EVER HAD! I say that in the humblest way possible. It’s so moist and light with the perfect crumb. I wouldn’t lie to you. I’ve tried so many red velvet cakes as it if one of my favorites. But, this recipe is a keeper. I truly believe I’ve come up with the dreamiest red velvet cake recipe. 

There are a few ways to make a cake moist. You have to be sure not to over mix the batter. Don’t bake it for too long. Etc. But, one of my keys is to add an extra egg yolk. That added fat with make for a richer cake. 

And, Cookies, I don’t care what ANYONE says. Red Velvet Cake is NOT just chocolate cake with food coloring. Not true! I refuse to believe that they are the same. Similar, yes. Same, NAH! The reaction between the vinegar, buttermilk uncovers the anthocyanin in the cocoa powder. Anthocyanin is what creates the reddish tint in the batter that the food coloring intensifies. That’s enough Science. You get my point. Red Velvet cake stands on it’s own!

I can brag about this cake all day. But, let your taste buds be the judge. It’s incredibly easy to make. It’s almost a “dump” cake. You can really place all ingredients in a bowl and mix. 

And there is coffee in this cake. It really emboldens the flavor of the cocoa powder. I use french vanilla. But, feel free to use your favorite roast. Make sure it’s warm, but not piping hot. We don’t want to cook those eggs in the batter.

I hope you are better at frosting a cake than I am. I SUCK at it! But, an ugly cake STILL tastes great. However, cream cheese icing can be difficult to work with even if you’re a seasoned cake decorator. It’s really silky and doesn’t set as well as a buttercream frosting. To make it a bit stiffer, use cold cream cheese and soft butter. This will give it more structure and make it a little bit easier to mold on your cake.

Happy Baking,

B. Coop

5 from 1 vote
Print

Red Velvet Cake

The most moist and fluffy red velvet cake you’ll ever bake! Trust me. 

Prep Time 20 minutes
Cook Time 25 minutes
Total Time 45 minutes
Author B. Coop

Ingredients

Cake:

  • 2 1/2 cups cake flour
  • 2 cups sugar
  • 1 tsp baking powder
  • 1 tbsp baking soda
  • 1/4 cup cocoa powder
  • 1 tsp salt
  • 2 eggs
  • 1 egg yolk
  • 1 cup buttermilk
  • 1 1/3 cup vegetable oil
  • 1 tsp vanilla extract
  • 1 tsp vinegar
  • 1/2 cup warm French vanilla coffee or any coffee*
  • 2 tbsp red Food coloring

Cream Cheese Frosting:

  • 8 oz Philadelphia cream cheese cold
  • 2 sticks salted butter softened at room temp
  • 4 cups powdered sugar
  • 1 tsp pure vanilla extract

Instructions

Cake:

  1. Preheat oven to 350 degrees F
  2. Grease and flour (3) 9 inch baking pans
  3. In a large mixing bowl, combine all dry ingredients
  4. Add in the eggs, yolk, buttermilk, and vegetable oil
  5. Using an electric mixer on a low speed, mix just until combined; about 10 seconds.
  6. Add the vanilla extract, vinegar, coffee, and food coloring.
  7. Use the mixer to mix until well combined. Be careful not to over mix.
  8. Pour 2 cups of the batter into each of the cake pans
  9. Bake the cakes on the middle rack of the oven for 20-25 mins or until a toothpick inserted into the middle of the cakes come out clean.
  10. Allow cakes to cool completely before frosting.

Frosting:

  1. Place the cream cheese and butter into a bowl
  2. Using an electric mixer, cream them together until smooth
  3. Add in the powdered sugar gradually mixing well in between.
  4. Add the vanilla extract and mix well to combine.
  5. Frost cake as desired.
  6. Enjoy!

Recipe Notes

*Brew the coffee, but don’t add milk or sugar. The cake likes the coffee black! Instant coffee works too. Just use regular coffee. Not the latte stuff. Don’t get cute. **The cake will last 5-7 days if stored correctly in the fridge. And if you don’t share and have a lot of self control. ***I don’t remember what I needed to tell you here. Never mind. ****Oh! I remember. You may need to double it frosting if you decide to get fancy and show off on your cake decorating or whatever.

Creole Chicken and Sausage Gumbo Recipe

I can’t have a Seafood Gumbo recipe on this thing without including a Chicken and Sausage recipe. It’s another Southern favorite. Just because it doesn’t contain seafood, doesn’t mean it’s lacking in the flavor department. The same dark, robust roux and the staple “Trinity” seasonings are used in this big pot of love.

Andouille sausage is traditionally used in Gumbo. But, they’re made of pork. I gave up the pig ages ago. So, I opt for chicken and green onions sausage. But, use your favorite. Just make sure that you brown them well before adding them. This will remove a ton of grease.

I use boneless, skinless chicken thighs as well. I like to sear them in the sausage drippings. This boost it’s flavor. I don’t cook them completely during the searing. I finish them off in the simmering of the gumbo.

Rich, robust, chocolate colored roux! This where the flavor lies. It’s the foundation for a BOMB Gumbo!

The thing that makes this recipe “creole” is the usage of tomatoes. It’s optional. Folks will argue all day that tomatoes don’t belong in Gumbo. My Creole ancestors would want me to punch them in the throat. We love a little tomato in our gumbos. If you don’t, LEAVE IT OUT AND DON’T BOTHER ME!

This dish is the perfect treat on a cold, winter day. But, heck, it’s perfect for ANYDAY! Don’t forget the potato salad and hot sauce!

Happy Cooking,

B. Coop

5 from 1 vote
Print

Creole Chicken and Sausage Gumbo Recipe

Ingredients

  • 1 lb smoked sausage sliced in coins
  • 1 lb boneless skinless chicken thighs
  • 12 oz bag frozen okra and tomatoes optional
  • 1/3 cup vegetable oil
  • 1/4 cup all-purpose flour
  • 1 finely diced onion
  • 1 finely diced green bell pepper
  • 2 finely diced celery stalks
  • 1 T finely chopped parsley
  • 2 T chopped green onions
  • 1 T crushed or minced garlic
  • 8 cups chicken stock or broth
  • 1 T onion powder
  • 1 T garlic powder
  • 2 tsp Accent seasoning optional
  • Creole or Cajun seasoning to taste
  • 1/2 tsp Gumbo file
  • warm white rice to serve

Instructions

  1. Brown sausage in a skillet until it renders grease
  2. Remove the sausage and set aside
  3. Season the chicken thighs with 1 T of Creole or Cajun seasoning

  4. In the sausage drippings, sear the chicken thighs 1-2 mins per side
  5. Remove the chicken and set aside.
  6. Add in the frozen okra and tomatoes
  7. Stir until the okra is no longer slimy
  8. Set aside
  9. In a Dutch oven or large, heavy bottom stock pot, pour in the oil and heat it
  10. When the oil is hot, whisk in the flour
  11. Continue to stir constantly on a medium high heat setting until the roux is the color of dark chocolate
  12. Turn off the heat
  13. Add in the onion, bell pepper, celery, parsley, and green onions
  14. Saute the veggies until they are tender
  15. Turn the heat back on a medium setting
  16. Add in the okra, tomatoes, and sausage
  17. Stir in the chicken stock and bring it to a low boil
  18. Add the chicken thighs into the pot
  19. Lower the heat to a simmer
  20. Cover the pot with a lid and allow to simmer for 1 hour
  21. Add in the onion powder, garlic powder, and Accent.
  22. Season to taste with the Creole or Cajun seasoning as needed.
  23. Stir and allow to simmer, uncovered, for 30 more mins to an hour
  24. Turn off the heat
  25. Stir in the gumbo file
  26. Serve over rice
  27. Enjoy!

Lobster Mac and Cheese

Cookies, it’s time. I’ve been putting this recipe off for awhile, because I needed it to be perfect. You know how I am. I had to test and test and TEST! And, baby, I think…I know, we’ve got it now!

Okay, we need fresh lobster tails. The key to the recipe is quality. We want quality ingredients. I mean, we don’t make this often, so we can splurge a little bit. 

I like to sear my lobster tails in butter and garlic to impart that lobstery ( I just made that up) flavor into the sauce. Be very careful tho. I only sear it until the shells gain color. We don’t want to cook the lobster completely at this point, because we’ll be baking it. There’s nothing worst that rubbery lobster!

Let’s discuss the CHEESE! To do so, we have to go back to that keyword. Quality. Get the good stuff and shred it yourself. None of that prepackaged bull. We need the block. AND try the cheeses I use in the recipe first before substituting it. Trust me. I know what the hell I’m doing. Don’t go messing with my recipe! Like I said, we’re not making this often, so I’m go RICH & CREAMY! I’m using half and half instead of milk. It makes a difference! I’m keeping the spices simple too. Salt, white pepper, and a pinch of onion & garlic powders.

I don’t like a heavy coating of breadcrumbs. But, I feel like Lobster Mac needs breadcrumbs. So, we’ll top it with a light, buttery sprinkling of some Panko. 

Happy Cooking,

B. Coop

5 from 1 vote
Print

Lobster Mac and Cheese

Prep Time 10 minutes
Cook Time 20 minutes
Resting time 10 minutes
Total Time 30 minutes
Servings 6

Ingredients

  • 1 lb Cavatappi pasta
  • 4-6 Lobster tails
  • 1 tsp Creole or Cajun seasoning
  • 1 stick unsalted butter
  • 1 tsp olive oil
  • 1 tsp crushed garlic
  • 1/2 cup all-purpose flour
  • 2 cups cold half and half
  • 1 cup cold whole milk
  • 1 tsp onion powder
  • 1/2 tsp garlic powder
  • 1 cup White Cheddar shredded
  • 1 cup Gruyere
  • 1 cup Mozzarella shredded
  • 1/3 cup grated Parmesan
  • 1/3 cup Panko bread crumbs
  • salt and white pepper to taste

Instructions

  1. Boil pasta in salted water according to package instructions until Al dente.
  2. Drain, but do not rinse. Set aside.
  3. Shred the cheeses and mix them all together in a bowl; set aside.
  4. Cut the lobster tails in half vertically
  5. In a pan, pour in 1 tsp of olive oil and melt 2 tablespoons of butter
  6. Stir in the garlic
  7. Add in the lobster tails, shell side down, and sprinkle them with the Creole seasoning
  8. Cook until they develop color; about 1 min per side ( be careful not to cook them all the way through)
  9. Remove the tails
  10. Melt 3 more tablespoons of butter in the pan
  11. Whisk in the flour until it’s no longer visible; about 45 seconds
  12. Pour in the half and half while whisking
  13. When the mixture starts to thicken, add in the onion and garlic powders.
  14. Season to taste with the salt and white pepper
  15. Stir in half of the cheese mix
  16. When the cheese melts, turn off the heat.
  17. Remove the lobster meat from the shells. Discard the shells.
  18. Roughly chop the lobster in large chunks
  19. Add the pasta and lobster meat into the the cheese sauce. Mix well
  20. Taste and adjust seasoning as needed
  21. Pour the mixture into a large, greased baking dish and top it with the remaining mixed cheeses
  22. In a small bowl, mix 1 tablespoon of melted butter with the breadcrumbs
  23. Sprinkle the breadcrumbs evenly over the top of the mac and cheese
  24. Top the dish with the grated Parmesan
  25. Baked, uncovered, in a 375 degree F oven for 15-20 mins until it’s lightly browned and bubbling

  26. Allow 10 mins to rest before serving
  27. Enjoy!

Southern Fried Catfish Recipe

One of the greatest joys of living in Louisiana is access to the freshest seafood. One being, catfish. We love some fried catfish! I like to keep the steps simple and let my homemade, seasoned batter mix do all of the talking!

When it comes to catfish, the fresher the better! I love to fry mine whole. I don’t mine a little softness to get that nice flaky filet. But, my family loves it thin and extra crispy! So, I slice a few pieces length wise and fry theirs a little bit longer.

It’s important NOT to over salt your cornmeal seasoning. It’s easily done. Be sure to taste the seasoning, so that you know how far to go. I always add a pinch of dried crab boil for an extra kick of flavor and spice. But, of course, that’s optional.

I don’t use any buttermilk or eggs. I leave that for chicken. I like to keep the coating nice and light. This way the filets aren’t weighed down during the frying. You’ll just the perfect crunchy without all of that thick batter.

I can NOT eat fried catfish without potato salad and a good bread roll! Throw in a super icy Pepsi and i’m in fish heaven! What do you like to serve with your fried fish?

Happy Frying,

B. Coop

Southern Fried Catfish
Serves 4
Write a review
Print
Prep Time
10 min
Cook Time
8 min
Total Time
18 min
Prep Time
10 min
Cook Time
8 min
Total Time
18 min
Ingredients
  1. 2 lbs fresh catfish filets
  2. 1 1/2 cups yellow cornmeal
  3. 1 tsp all-purpose flour
  4. 1 tsp onion powder
  5. 1 tsp garlic powder
  6. 1 tsp Accent
  7. 2 tsp Creole seasoning or seasoned salt
  8. 1/2 tsp lemon pepper
  9. 1/2 tsp dry crab boil (optional)
  10. canola oil for frying
Instructions
  1. In a shallow dish, cornmeal, flour, and all listed spices and seasonings.
  2. Mix well.
  3. Heat oil in a deep fryer or cast iron skillet to about 350 degrees F
  4. Dredge each fish filet in the cornmeal mixture and shake off the excess.
  5. Fry the catfish for 3-5 mins per side (or total if deep frying) or until it's as crispy as desired
  6. Drain on paper towels
  7. Enjoy!
Coop Can Cook https://coopcancook.com/

Microwave Pralines Recipe

No, you read the title right. We’re making pralines in the microwave!! AND it’ll take less than 10 mins of cooking time. I know you don’t believe me. So, watch this!

VERY IMPORTANT: Make sure you use a microwave safe, plastic bowl or container for this recipe. Do not use glass! The glass will cook the candy too fast and result in a burnt mess. Don’t ask how I know…

This recipe is so easy, breezy I’m trying to make up things to say to lengthen this post. LOL! The ingredients are simple. However, I suggest using quality brands. 

Not all microwaves are the same, of course. Mine is 700 watts. With that being said, use my timing as a bench mark. If your candy isn’t done after the last trip to the microwave, just put the candy back in 30 secs at a time until the consistency is right. *see video for examples* The mixture should be thicker and more bubbling. It will be slightly darker in color and almost appear to be burning. It isn’t. 

This method will change the way you see Praline candy making. It can be a nerve wrecking task! I’ve failed so many times. But, this recipe works like a charm.

Microwave Pralines
Yields 12
Write a review
Print
Ingredients
  1. 1 (14 oz) can sweetened condensed milk
  2. 1 cup granulated sugar
  3. 4 tablespoons salted butter
  4. 1 tablespoon pure vanilla extract
  5. 1 1/2 cup chopped pecans
Instructions
  1. Pour the condensed milk into a plastic, microwave safe bowl or container
  2. Add in the sugar and the butter; do not stir
  3. Place bowl into the microwave for 3 mins
  4. Take it out and stir for 45 seconds.
  5. Place the bowl back into the microwave for 2 mins and 30 seconds.
  6. Take it out and stir for another 45 seconds.
  7. Place it into the microwave again for 2 mins*
  8. Remove the bowl and stir until the mixture stops bubbling; about 15-20 seconds
  9. Add in the vanilla extract and pecans
  10. Stir until the mixture thickens a little more and becomes harder to stir; about 45 seconds-1 min
  11. Using a tablespoon, scoop out spoonfuls onto waxed paper
  12. Allow 20 mins to cool and set.
  13. Enjoy!
Notes
  1. *Microwave watts differ. At this point, the mixture should be slightly darker and thicker. If not, place it back into microwave for 30 secs at a time until it reaches this point. See tutorial above for example.
Coop Can Cook https://coopcancook.com/

Chicken Noodle Soup Recipe

I lost my voice. So, this recipe is definitely needed today! Homemade Chicken Noodle Soup recipes can sometimes seem complex. You have to make the stock, simmer until flavors develop, and be careful not to over season. I’m making it easy without skimming on the goodness. 

I prefer white meat in my Chicken Noodle Soup. But, feel free to use whatever you like. The whole chicken can be used it you’re making a large batch. I use bone in chicken breasts. I always sear the skin side of the bird before making a stock. 

Mirepoix! I love saying that dang word! But, it’s golden in a stock! Especially a soup stock! Saute them down right after searing your chicken. 

This is 100% feel good, wellness soup! I don’t think a cold can survive and piping hot bowl of this stuff. It was just what my throat needed! Store this recipe. It’ll come in handy during Cold and Flu season. Stay well, my loves.

Happy Cooking,

B. Coop

Chicken Noodle Soup Recipe

Servings 5

Ingredients

  • 2 T olive oil
  • 1 chicken breast
  • 1 diced onion
  • 2 sliced celery stalks
  • 2 cups sliced carrots
  • 2 tsp minced garlic
  • 1 bay leaf
  • 2 basil leaves
  • 2 T Italian seasoning
  • 8-10 cups water
  • 4 chicken bouillon cubes
  • 1 TBS onion powder
  • 1 TBS garlic powder
  • 2 cups egg noodles
  • salt and pepper to taste

Instructions

  1. Heat oil in a large pot
  2. Add in the chicken breast and sear on both sides until browned
  3. Remove the chicken
  4. Add in the onion, carrots, and celery
  5. Sprinkle a pinch of salt in the pot
  6. Saute for 6 minutes
  7. Add in the garlic and saute for 30 secs.
  8. Toss in the bay leaf, basil, and Italian seasoning
  9. Add the chicken back in
  10. Pour in the water
  11. Add the chicken bouillon cubes and bring to a boil
  12. Skim off the scum or foam off the surface of the liquid
  13. Lower the heat and allow it to simmer for 30 mins or until the chicken starts to fall off the bone.
  14. Remove the chicken and shred it
  15. Remove the bay leaf and basil; discard
  16. Add in the onion and garlic powders
  17. Salt and pepper to taste
  18. Add in the egg noodles and cook according to package instructions
  19. Return the chicken back into the pot
  20. Enjoy!

Cajun Fried Turkey Wings Recipe

Jump to Recipe

Whew, Chile! I keep getting requests for a fried turkey recipe. You guys trust me more than I trust me! Baby, I’m not ready to fry a whole bird! I need adult supervision with grease! BUT, I will give you the BEST Cajun Fried Turkey Wings Recipe!


I searched every grocery store in my area for whole turkey wings. They were all sold out! I had to settle for the already cut wings. And, I can’t complain. I just rinsed them really well and pat them dry.

Just as I would with a whole turkey, I’m shooting this sucker up with the GOOD stuff! So much flavor in this litte jar!

I like to marinate my wings overnight. But, if you’re short on time, give them at least 4 hours to soak in the flavor.

Using a deep fryer or pan, fry the wings for 7 minutes on one side. Then, flip them over and fry for an additional 7 minutes or until the wings are COMPLETELY cooked.

My Cajun Fried Turkey Wings are the perfect substitution for a whole fried turkey. You may even enjoy these over fried chicken. Yes, they are THAT good!

Happy Frying,

B. Coop


Cajun Fried Turkey Wings Recipe

Fail proof recipe for Crispy Fried Turkey Wings with a Cajun kick!
Prep Time 12 hours
Cook Time 30 minutes
Total Time 12 hours 30 minutes
Servings 4 people

Ingredients

  • 4-6 turkey wings
  • 4-6 ounces Creole Butter injectable marinade
  • 1-2 T hot sauce
  • 2 1/2 T Cajun or Creole seasoning
  • 1 T onion powder
  • 1 T garlic powder
  • 1/2 tsp Goya Sazon seasoning optional
  • 1 tsp black pepper
  • Vegetable or canola oil for frying

Instructions

  1. Inject 1 ounce of marinade into the meat of each turkey wing
  2. Place wings into a freezer bag and refrigerate overnight or at least 4 hours.
  3. Mix all spices together
  4. Sprinkle and rub the spice blend evenly over the wings
  5. Preheat oven to 425 degrees F
  6. Place wings on a baking sheet with a wired rack
  7. Bake uncovered for 25 minutes
  8. In a deep fryer or pan, heat enough oil to cover the wings to 350 F
  9. Deep fry the wings until brown and cooked through to an internal temp of 165 degrees F; about 3-5 mins depending on the size of the wings
  10. Drain on paper towels
  11. Enjoy!

Creamy White Beans Recipe

I took beans for granted as a child. I HATED them. To be honest, I’ve only just developed a love for them since creating this blog. I know, I know. I’m tripping. But, this recipe makes up for my waywardness. If I’m gonna eat beans, they better be creamy! Oh, and I’m not spending all day cooking them either. I’m super proud of this Creamy White Beans Recipe.

I use good ole Great Northern White beans. Again, I do NOT like cooking these things all day. I don’t even soak them overnight. I do a quick soaking method. Works like a charm every time!

Be sure to rinse and sort your beans very well before soaking. We’re not going to drain the beans. We’re using the same soaking water for the cooking process. 

To “Quick Soak” the beans, you want to bring them to what I call the “pre-boil” stage. Once you see the little bubbles form in the center, turn off the heat.

After 45 minutes of soaking, you’ll notice that the beans will double in size. Now, they’re ready to cook!

My parents and most Louisianans use pork to flavor the beans. Pickled pigtails, ham shanks, chunks of ham, and/or pork sausage are choices. But, I no longer eat pork. I opt to use my favorite chicken and green onion sausage.Like red beans, white beans and rice is an inexpensive and treasured dish. This meal can STRETCH! Bake some cornbread, whip up some sweet, iced tea, and ENJOY!

Happy Cooking, 

B. Coop

Creamy White Beans Recipe
Serves 6
Write a review
Print
Prep Time
45 min
Cook Time
1 hr 40 min
Total Time
2 hr 25 min
Prep Time
45 min
Cook Time
1 hr 40 min
Total Time
2 hr 25 min
Ingredients
  1. 1 lb great northern white beans
  2. 8 cups of water
  3. 1 lb sausage (sliced into coins)
  4. 1 diced onion
  5. 1 diced bell pepper
  6. 2 diced celery stalks
  7. 1 T minced garlic
  8. 1 T onion powder
  9. 1 T garlic powder
  10. 2-3 chicken bouillon cubes
  11. 2 T (or to taste) creole or cajun seasoning
  12. 4 T butter
  13. cooked rice
Instructions
  1. Rinse and sort the beans
  2. Place in a large pot or Dutch oven and cover with water
  3. Bring the pot to a slight boil
  4. Once bubbles appear in the center of the water, turn off the heat
  5. Allow beans to soak for 45 mins.
  6. While beans are soaking, brown the sausage.
  7. Once the sausage has browned, remove them from the pan with a slotted spoon.
  8. Add the onion, bell peppers, celery, and garlic to the same pan containing the sausage drippings.
  9. Saute until tender
  10. Once the beans are done soaking, do not drain off the water.
  11. Stir the sausage, sauteed veggies, onion and garlic powders into the pot with the beans.
  12. Bring to a boil.
  13. Lower heat and allow beans to simmer on low uncovered for 1 hour
  14. Add the bouillon cube and Creole or Cajun seasoning
  15. Stir and continue cooking for 20 mins.
  16. Add the butter and cook for 10-20 additional minutes or until beans are soft, thick, and creamy.
  17. Taste and adjust seasoning if needed.
  18. Serve over warm rice.
  19. Enjoy!
Coop Can Cook https://coopcancook.com/