So, here I go opening my secret vault again. I never thought I’d share my special, homemade BBQ sauce recipe. But, I just can’t keep anything from my Cookies! Sauces are my thing.This recipe is what I call my fundamental BBQ sauce. Because, it’s the base sauce that I always use. Now, you can use it as is or add your favorite flavors. Orange, pineapple, honey, Hennessy…whatever, Chile! Again, I really didn’t think I’d ever share this recipe. However, I just adore you guys! So, here are the steps to getting folks lost in the sauce…
Lost in the sauce!
 What I love most about making BBQ sauce is that you can just throw all of the ingredients into a pot at one time. Just stir it well and let it simmer. Because, the magic happens during the simmer. That’s when all of those flavors marry each other and live happily ever after. Besides that, BBQ sauce is one of the most popular sauces. You’ve got to have a go to recipe in your stash.
To Booze or Not to Booze…
 Of course, I’m using bourbon in this recipe. However, it’s completely optional. But, whiskey tastes amazing in this smokey sauce! And, if you know, it’s Bourbon!
Don’t worry about it being boozy. The alcohol content will cook out in 20-30 seconds. It’s completely kid proof. However, feel free to substitute the liquor for fruit juices like orange, pineapple, or apple. Obviously, the flavor choices are endless. Giving the sauce the right amount of simmer time is most important. Doing so, makes all of the difference in the quality of your BBQ sauce.
Listen, I believe I’ve created the perfect, customizable, homemade BBQ sauce! But, hey, i’m biased. So, tell me what flavored BBQ sauce is your fave in the comment section. And let me know what you plan to use this sauce on.
Happy Cooking,
B. Coop

- 1 1/2 cup ketchup (I would tell you the brand I use, but Heinz hasn’t cut me a check yet. Whoops!)
- 2/3 cup brown sugar (packed; meaning, press it down in the measuring cup, Baby! Don't make this difficult)
- 1/4 cup Worcestershire sauce
- 1 T apple cider vinegar
- 1 T liquid smoke (flavor of your choice)
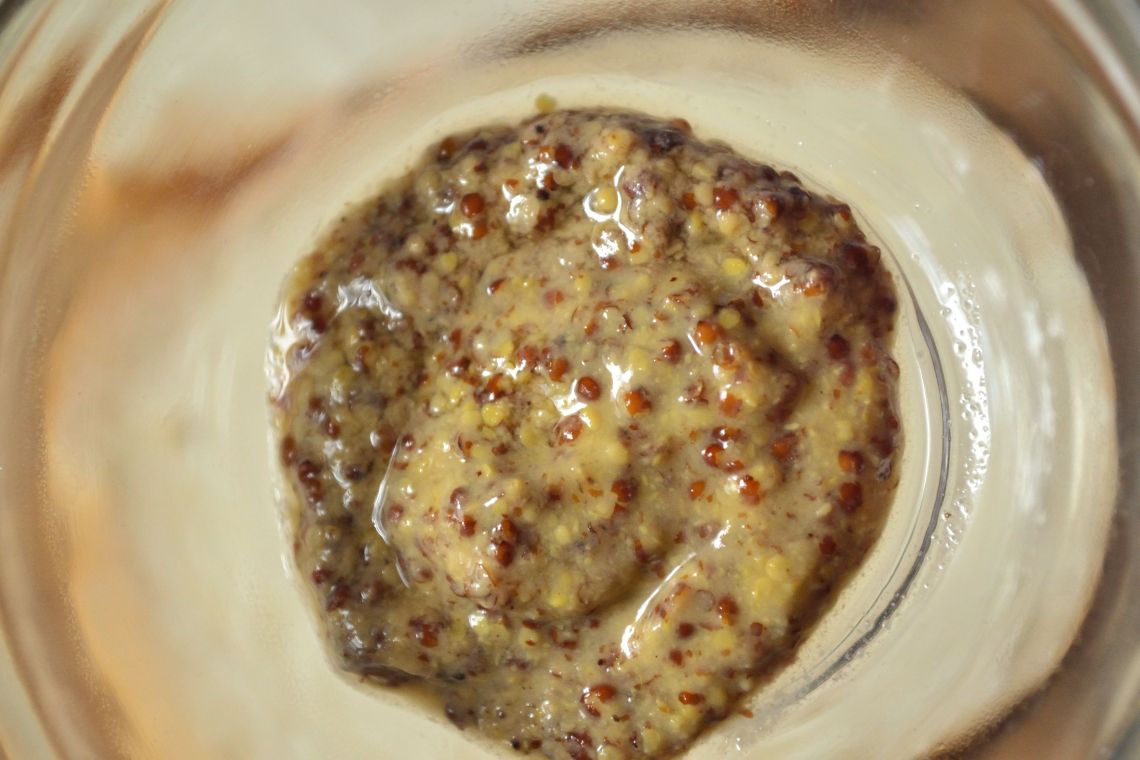
- 1 T Creole mustard
- 1 T onion powder
- 1 tsp garlic powder
- 3 T molasses
- 1 tsp Cajun seasoning
- 1 tsp black pepper
- 1/3 cup Bourbon (optional)
- Combine all ingredients in a saucepan on medium heat.
- Stir well and bring to a boil
- Lower heat and allow to simmer uncovered for 35 mins.
- Allow to cool completely before storing in a jar or container.
- Enjoy!
- Leftover sauce will last up to one month if refrigerated properly in an airtight container or jar.