Jump to Recipe
The Best Crispy Oven Baked BBQ Chicken
Think you need a grill to make incredible BBQ chicken? Think again.
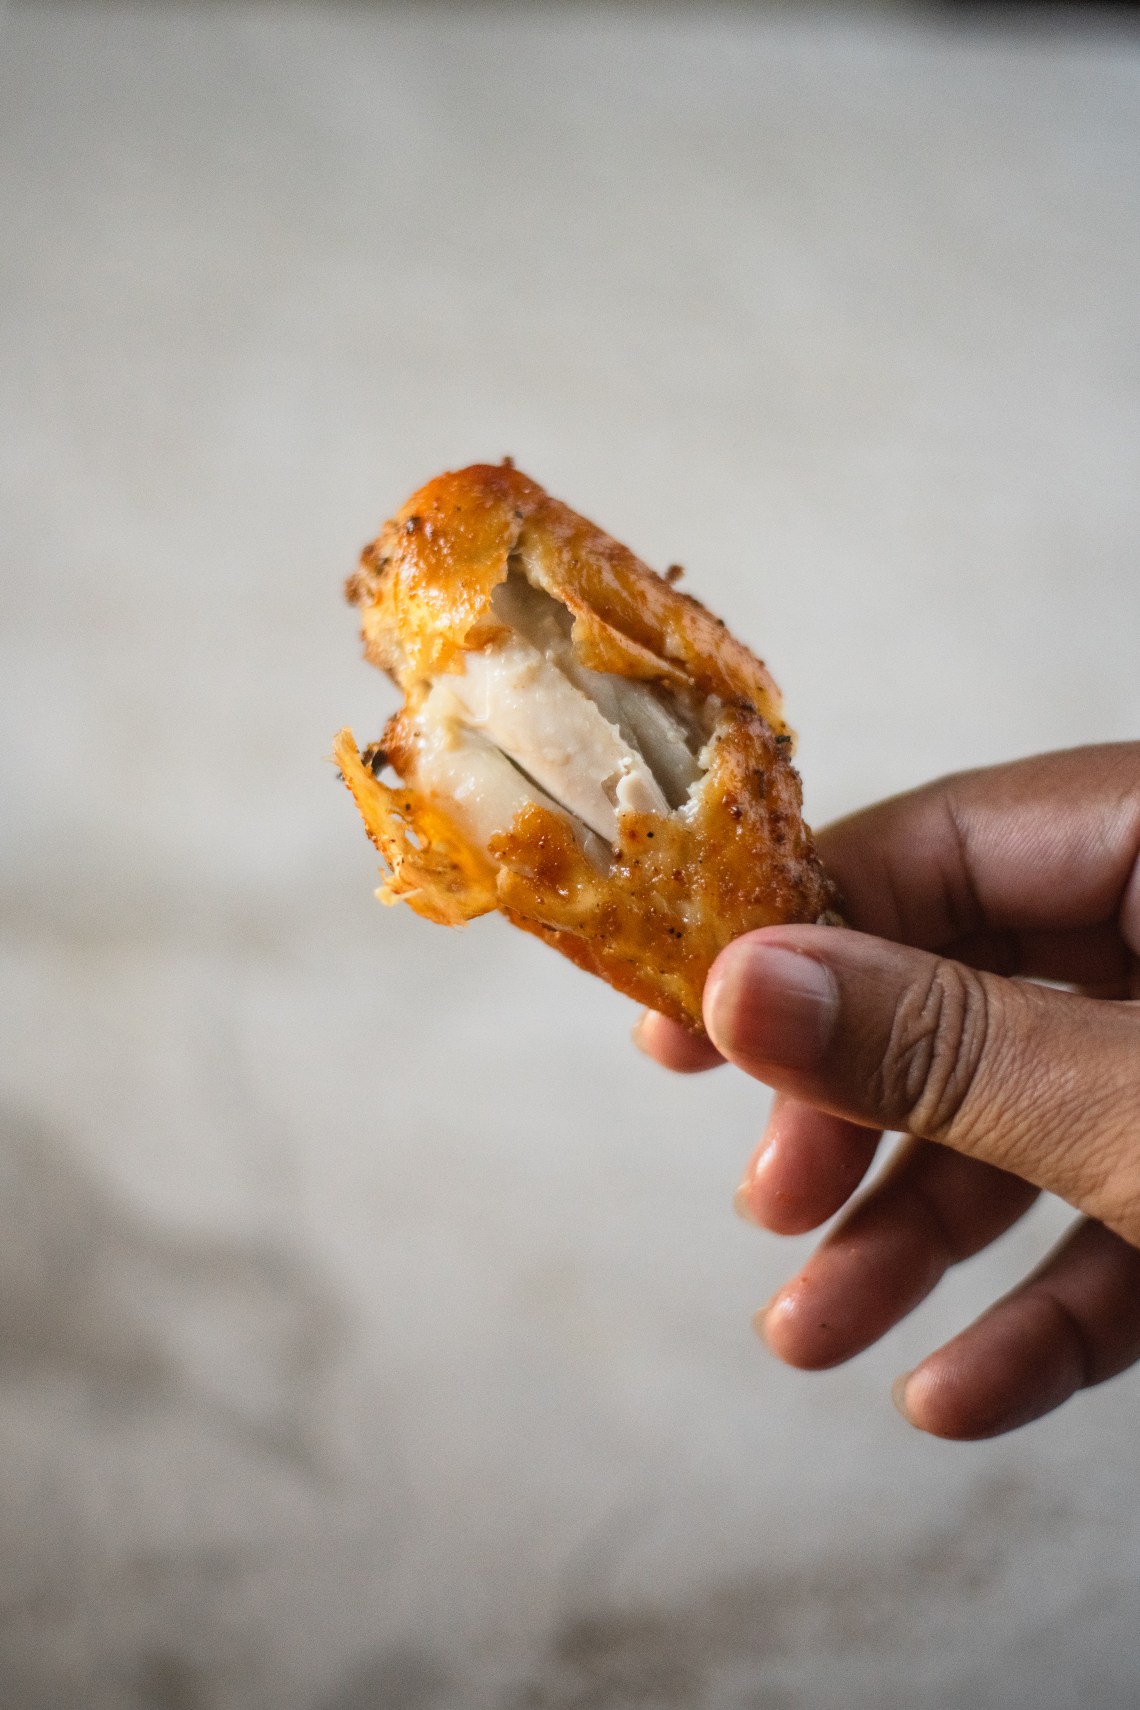
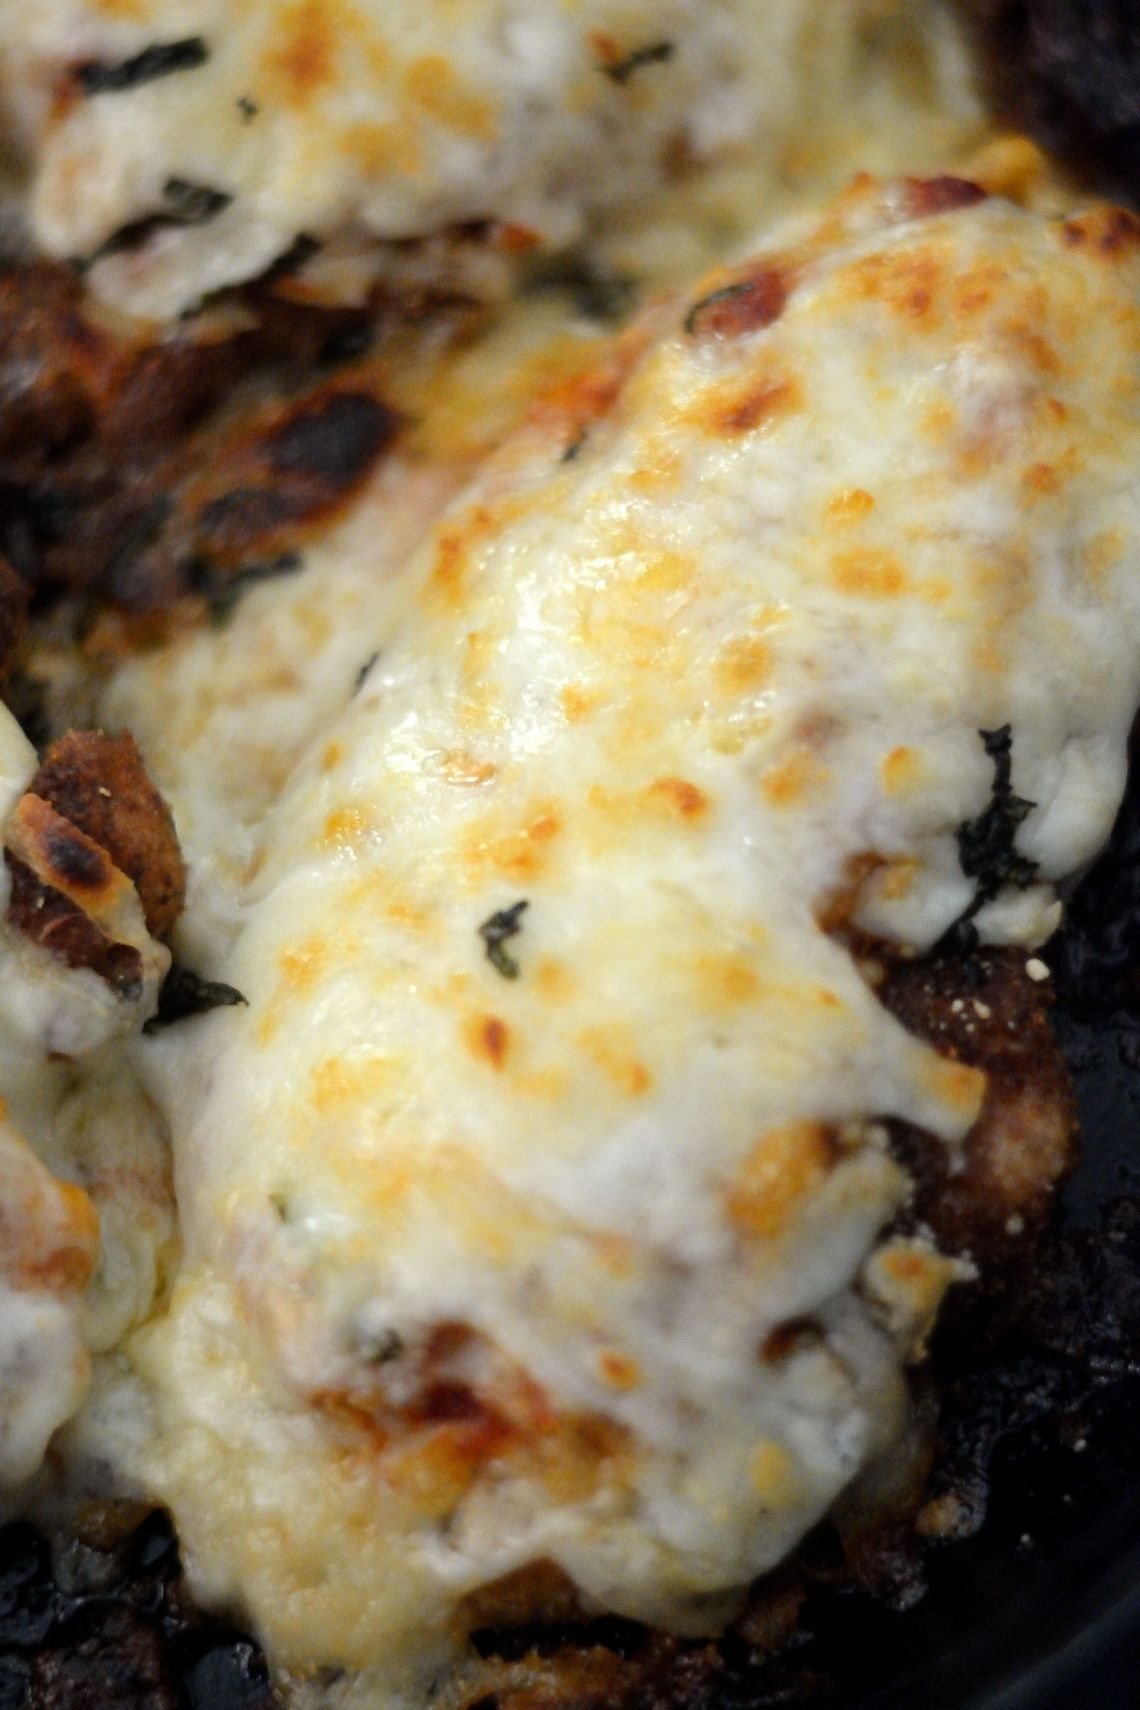
This Crispy Oven Baked BBQ Chicken is juicy, smoky, sticky, finger-licking good, and now…even crispier! After making this recipe for years, I made a few simple changes that took it to the next level. Baking the chicken on a wire rack at a higher temperature creates beautifully crispy skin while keeping the meat tender and juicy. Finish it with a generous coating of your favorite BBQ sauce (or better yet…mine!), and you’ve got a barbecue chicken recipe that’s worthy of making on repeat.
Whether it’s a busy weeknight, Sunday dinner, or your summer cookout menu, this recipe delivers all the flavor of grilled BBQ chicken—right from your oven.
Why You’ll Love This Recipe
If you’ve ever been disappointed by soggy oven-baked chicken, you’re in the right place.
This recipe delivers:
- Crispy, flavorful chicken skin
- Juicy, tender meat every time
- Sticky, caramelized BBQ sauce
- Easy prep with simple pantry ingredients
- No grill required
- Perfect for family dinners, meal prep, and cookouts
- Foolproof results every time
Once you try this method, you may never go back to the grill.
What’s New?
I’ve always loved this recipe, but after years of making it, I knew it could be even better.
The updated version includes a few simple changes that make a big difference:
- Baking the chicken on a wire rack instead of directly in a baking dish.
- Increasing the oven temperature to 425°F for crispier skin.
- Keeping the chicken skin-side up the entire time—no flipping required.
- Brushing on the BBQ sauce during the final 15 minutes so it caramelizes instead of burns.
Small changes. Big payoff.
The Secret to Crispy Oven-Baked Chicken Skin
Getting crispy chicken skin in the oven isn’t complicated, but it does require the right technique.
The biggest mistake people make is baking chicken directly in its own juices. As the chicken cooks, moisture collects underneath it, causing the skin to steam instead of roast.
Using a wire rack changes everything.
By elevating the chicken, hot air circulates around every piece while the rendered fat drips away. The result is evenly cooked chicken with beautifully crisp skin.
Another key step is waiting until the last 15 minutes to brush on the BBQ sauce. Since barbecue sauce contains sugar, adding it too early can cause it to burn before the chicken is fully cooked. Waiting until the end gives you that rich, sticky glaze without sacrificing the crispy skin you’ve worked so hard to achieve.
Finally, don’t skip the baking powder. A small amount helps dry the surface of the chicken skin, encouraging even better browning and crispiness in the oven. Don’t worry—you won’t taste it!
Why This Recipe Works
Every ingredient and every step serves a purpose.
Bone-In, Skin-On Chicken
The bone helps the chicken stay juicy while the skin crisps beautifully in the oven.
Baking Powder
This is one of my favorite little kitchen tricks. It helps draw moisture away from the surface of the skin, making it easier to achieve that irresistible crispy texture.
Olive Oil
Just enough to help the seasoning stick and promote even browning.
My Dry Rub
This isn’t your average seasoning blend.
Brown sugar adds sweetness.
Creole seasoning brings that Louisiana flavor.
Smoked paprika adds color and smoky depth.
Garlic and onion powder build rich savory flavor.
And the secret ingredient?
Knorr Chicken Bouillon Powder.
Trust me on this one.
It adds a rich, savory flavor that takes this BBQ chicken to another level.
No Flipping
There’s absolutely no need to flip the chicken.
Leaving the chicken skin-side up allows the skin to stay exposed to the dry heat of the oven while the wire rack cooks the underside evenly. Less handling also means the skin stays intact.
Ingredients You’ll Need
One of the best things about this recipe is that it uses simple ingredients to create incredible flavor.
Chicken
Use 6 to 8 pieces of bone-in, skin-on chicken. Thighs, drumsticks, leg quarters, or a whole cut-up chicken all work beautifully.
Baking Powder
Just two teaspoons help create crispier skin by drying the surface of the chicken as it roasts.
Olive Oil
Helps the seasoning adhere evenly while encouraging beautiful browning.
Brown Sugar
Balances the smoky spices and helps create gorgeous caramelization.
Creole or Cajun Seasoning
Adds bold Louisiana flavor with just the right amount of heat.
Onion Powder
Adds sweetness and depth.
Garlic Powder
A must-have for rich, savory barbecue flavor.
Smoked Paprika
Adds smoky flavor and gives the chicken its beautiful color.
Knorr Chicken Bouillon Powder
My not-so-secret ingredient. It adds incredible savory flavor and makes the seasoning blend taste like it’s been simmering all day.
BBQ Sauce
Use your favorite BBQ sauce…or better yet, use mine! Brushing it on during the last 15 minutes allows it to caramelize into a sweet, smoky glaze without burning.
Cooking Spray
Don’t forget to spray your wire rack well. It’ll help prevent sticking and make cleanup much easier.
Equipment You’ll Need
- Large rimmed baking sheet
- Oven-safe wire rack
- Large mixing bowl
- Measuring spoons
- Basting brush
- Instant-read meat thermometer
- Paper towels
- Nonstick cooking spray
Before You Get Started
A few simple tips will guarantee the best results every time.
- Pat the chicken completely dry before seasoning.
- Spray the wire rack generously with cooking spray.
- Leave a little space between each piece of chicken so the hot air can circulate.
- Don’t flip the chicken while it bakes.
- Wait until the last 15 minutes to brush on the BBQ sauce.
- Always cook chicken to an internal temperature of 165°F.
Follow these simple steps, and you’ll be rewarded with juicy chicken and beautifully crispy skin every single time.
Crispy Oven Baked BBQ Chicken (Better Than the Grill!)
Skip the grill—this Crispy Oven Baked BBQ Chicken delivers everything you love about classic barbecue chicken right from your oven! Bone-in, skin-on chicken is coated in a bold Louisiana-inspired dry rub, roasted on a wire rack until the skin is perfectly crispy, then brushed with your favorite BBQ sauce for a sticky, caramelized finish. It’s juicy, smoky, incredibly flavorful, and easy enough for any night of the week.
-
6-8
bone-in
skin-on chicken pieces
-
* 2 teaspoons baking powder
-
* 2 teaspoons olive oil
-
* Cooking spray
-
* BBQ sauce of your choice
or better yet…use mine!
Dry Rub
-
* 2 tablespoons brown sugar
-
* 1 tablespoon Creole or Cajun seasoning
-
* 1 tablespoon onion powder
-
* 2 teaspoons garlic powder
-
* 1 tablespoon smoked paprika
-
* 1 teaspoon Knorr Chicken Bouillon Powder
-
Preheat the oven to 425°F. Place an oven-safe wire rack inside a large rimmed baking sheet and generously coat the rack with cooking spray.
-
Pat the chicken completely dry with paper towels.
-
In a small bowl, whisk together the brown sugar, Creole seasoning, onion powder, garlic powder, smoked paprika, and Knorr Chicken Bouillon Powder.
-
Drizzle the chicken with the olive oil and toss until evenly coated.
-
Sprinkle the baking powder over the chicken, then add the dry rub. Toss until every piece is evenly coated.
-
Arrange the chicken skin-side up on the prepared wire rack, leaving a little space between each piece.
-
Bake for 30 minutes. Do not flip the chicken.
-
Remove the chicken from the oven and generously brush each piece with your favorite BBQ sauce.
-
Return the chicken to the oven and continue baking for about 15 more minutes, or until the thickest piece reaches an internal temperature of 170-175°F.
-
Let the chicken rest for 5 to 10 minutes before serving.
Pat the chicken completely dry before seasoning. Dry skin is the key to achieving crispy, golden skin in the oven.
* Don’t skip the baking powder! It helps dry the surface of the chicken skin, creating an even crispier finish.
* Baking the chicken on a wire rack allows hot air to circulate around every piece for even cooking and beautifully browned skin.
* No flipping required. Keeping the chicken skin-side up helps it stay crispy while the underside cooks evenly.
* Wait until the final 15 minutes to brush on the BBQ sauce. This allows the sauce to caramelize without burning.
* For the juiciest, most tender dark meat, cook the chicken to an internal temperature of 170-175°F. While chicken is safe to eat at 165°F, dark meat benefits from the extra cooking time.
* Let the chicken rest for 5 to 10 minutes before serving so the juices can redistribute.